MiniLibX
Basic introduction, tutorials, tips & tricks.
Project maintained by Gontjarow Hosted on GitHub Pages — Theme by mattgraham
How to create and open a window with MLX?
(Note: All of these tutorials assume you’ve created your own libft and are using MacOSX with MiniLibX properly installed.)
Before anything else, you should set up your makefile so that it can compile MLX programs.
Genereally speaking, you’ll need to link your libft, mlx, and -framework OpenGL -framework Appkit on MacOSX.
NAME = tutorial

SOURCES = tutorial.c

OBJECTS = $(subst .c,.o,$(SOURCES))

FLAGS = -Wall -Wextra #-Werror
LINKS = -I libft -L libft \
    -I /usr/local/include -L /usr/local/lib \
    -l mlx -l ft -framework OpenGL -framework Appkit

# Remember to implement your rules...

$(NAME): $(OBJECTS)
    gcc $(SOURCES) -o $(NAME) $(FLAGS) $(LINKS)
First, your program will have to initialize the connection with MLX. Remember to include mlx.h!
#include "mlx.h"

int main()
{
    void *mlx = mlx_init();
}
This pointer is very important. You will need it for many other functions later. Generally speaking, you’ll want to store all of your MLX and window pointers into a struct of some kind so you can pass them around to other functions when needed. In basic programs, you’ll only need one MLX pointer and one window pointer. You may also create multiple windows.
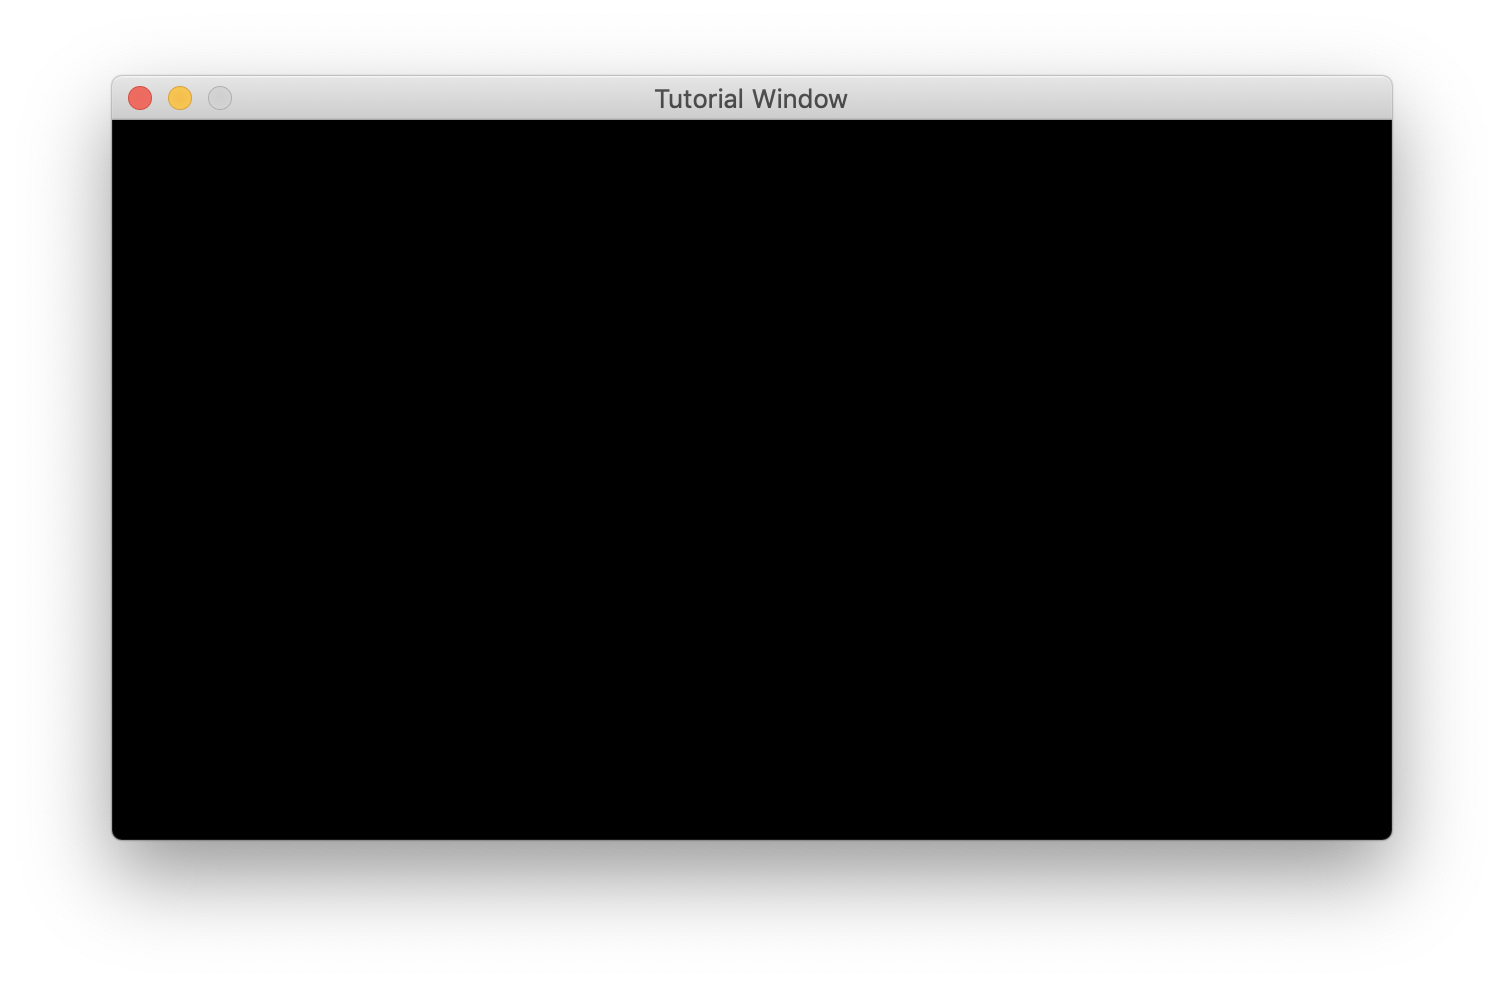
Next up we can already create our window, which will open as soon as we start waiting for events with mlx_loop() even though we haven’t set up any events yet, but you can read the mlx_loop manual.
#include "mlx.h"

int main()
{
    void *mlx = mlx_init();
    void *win = mlx_new_window(mlx, 640, 360, "Tutorial Window");
    mlx_loop(mlx);
}
When you compile and run this, you’ll end up with a small window that does absolutely nothing. Congratulations!